After you have added Windows Server roles and features in Part II, installation can be started.
You are highly recommended to copy the installation CD to a mapped network drive or server local drive as ejecting CD accidentally can fail the installation.
Run "Autorun" in installation sources, you will see

Click "Install XenApp Server" to install "Citrix XenApp Server Role Manager"

Click "Add server roles" to add XenApp server roles.

Select your edition purchased.

Accept license

Select "XenApp" ONLY to reduce installation time. Other components may not be the version you want this time (you may get latest version from Citrix web site)

Leave default and click "Next"
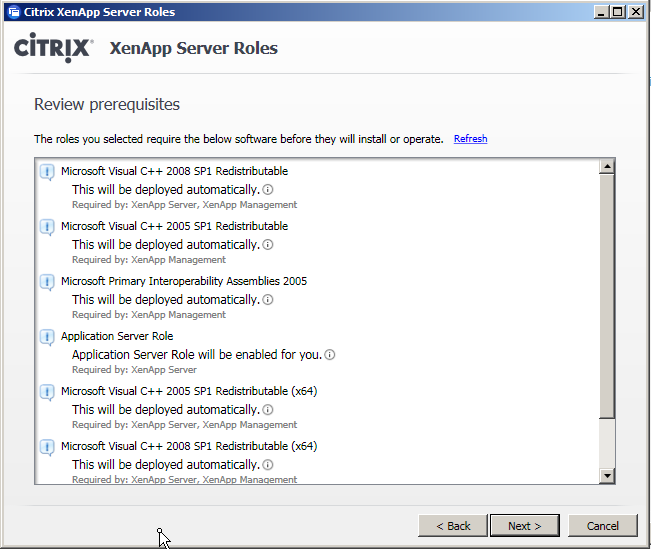
Click "Next"

Click "Install" to begin. It may take a long time.
When you see the following screen, you are safe now.


Click "Specify Licensing"
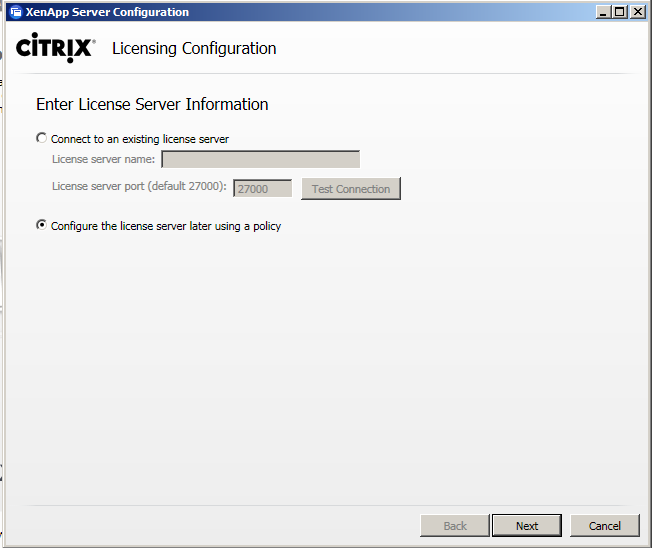
Select the bottom one and click "Next"

Click "Continue" to ignore it

Skip it by selecting "Select the model at a later time"

Click "Continue" to ignore it.

Installation completed. we will begin the configuration in Part III.
No comments:
Post a Comment